Your child asks to see space tonight, but you have no telescope and bedtime is approaching. A useful first session can be a few minutes outside with one visible target and one question. Choose an easy target above your home’s roofline and leave time to draw it together afterward.
Choose a target before going outside
NASA's skywatching FAQ confirms that special equipment is unnecessary to begin. It suggests learning a few recognizable targets and preparing with the month's highlights. For a family evening, use that approach to choose something above your local horizon at a workable hour.
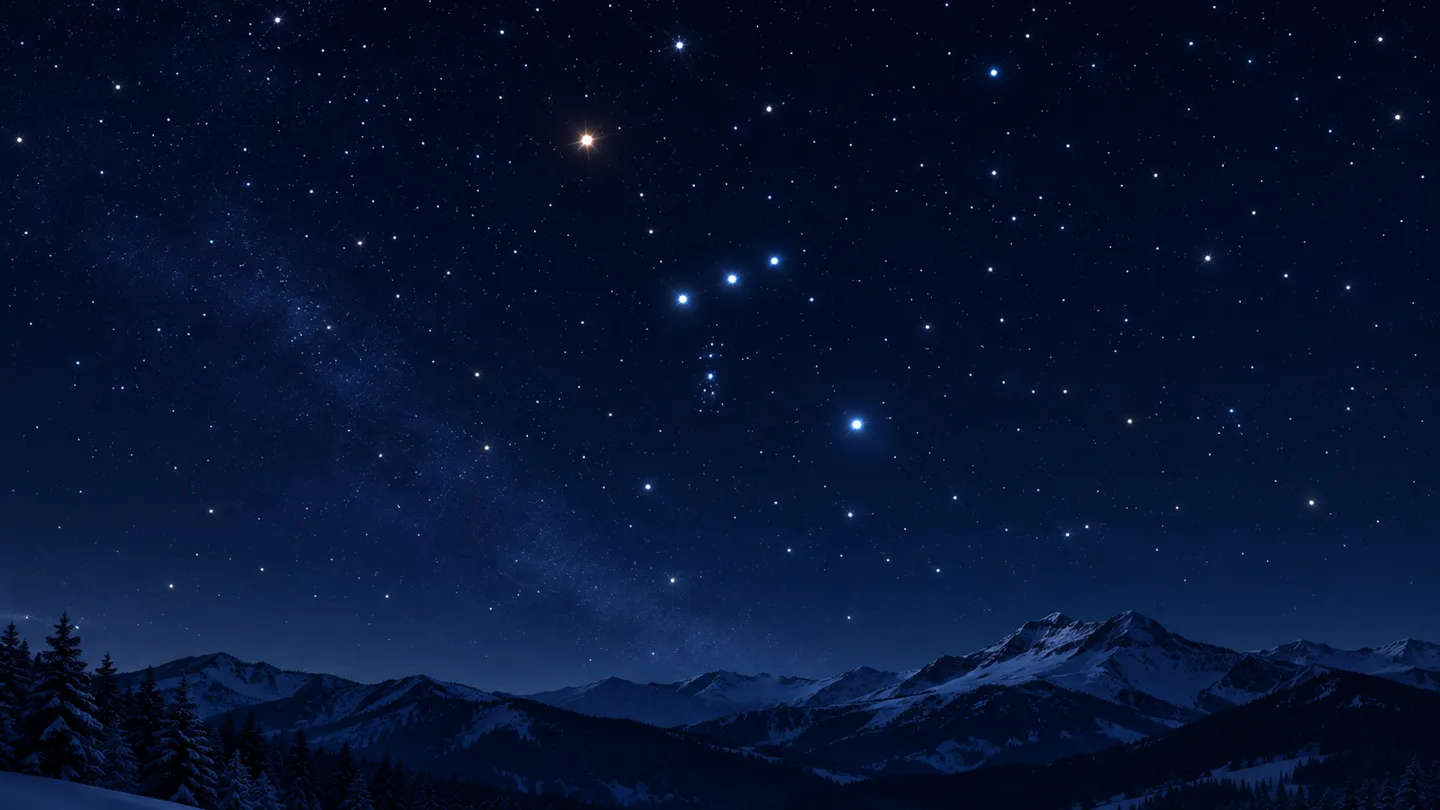
Check the sky map with your city and intended time. If the Moon is available, compare its broad light and dark shapes. If a recognizable star pattern is better placed, choose one pattern instead. Our Orion's Belt guide is an option when Orion is actually in your sky; the illustration here is not a finder chart.
Make the place easy for everyone
A garden, accessible courtyard or familiar open area can be enough for a bright target. Choose a comfortable spot beside you, away from traffic and steps, with an easy route indoors.
The Canadian Space Agency's stargazing tips recommend checking weather, dressing for the night and avoiding bright lights. Start with the brightest target while your eyes adjust after leaving a lit room.
Check local weather and alerts before stepping outside. If thunderstorms threaten, follow NOAA’s National Weather Service lightning guidance and move into a safe building or vehicle.
Try a ten-minute observation game
- Find: Ask the child to show you the chosen target. Confirm the direction together using a fixed landmark, such as a roof corner.
- Describe: Ask “What shape do you see?” or “Which of these three stars looks brightest?” Accept an observation in the child's own words before supplying a name.
- Draw: Make a quick sketch of the Moon's lit part or the spacing between a few bright stars. Record the date, local time and place.
- Wonder: Save one question for indoors. Looking up an answer together later keeps the outdoor moment focused on observing.
Finish while the child is still comfortable. One observation gives you something to compare next time; let their questions guide the conversation.
Make a second visit the experiment
For a Moon session, ask what might look different on another evening, then compare sketches when the Moon is available again. The guide to the lunar light boundary explains what to look for as interest grows. Try another unaided-eye session before deciding whether to explore with binoculars.
Use the monthly sky calendar to choose another convenient night, checking the city, zone and actual horizon. The next-event section can suggest a topic without committing the family to a late-night peak.
Finally, let the child choose a caption for a Moon keepsake of the first outing. Explain that it is calculated from the selected time and NASA maps, rather than a photograph the family took. Keep the child's sketch alongside it: one shows the rendering, while the other preserves what the child noticed.