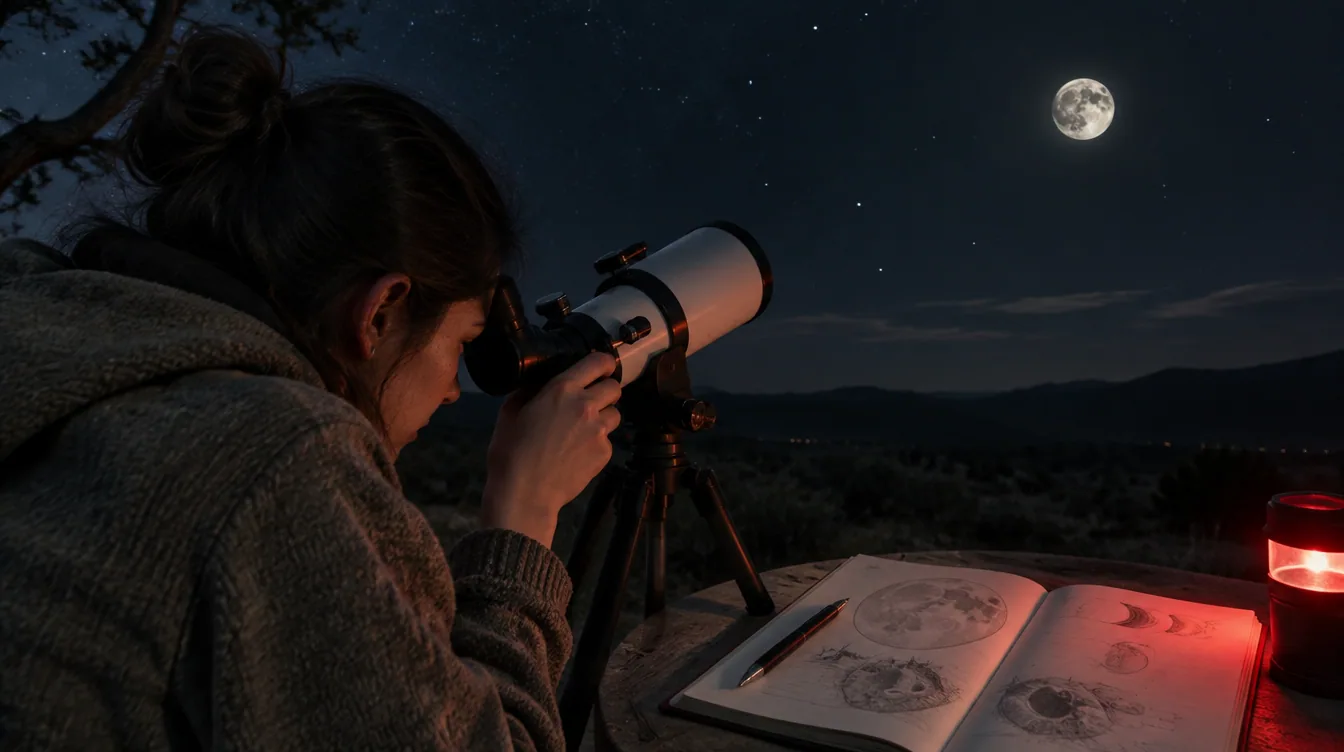
You look at a bright Moon and find a patchwork of gray, but the dramatic crater walls in an astronomy image seem to be missing. Look along the boundary between lunar day and night before reaching for stronger magnification. For a first lunar session, identifying a few broad regions and following the boundary of daylight is more useful than trying to memorize every crater name.
Separate the surface from its lighting
The large dark plains are maria: ancient basaltic lava surfaces, not present-day seas. The brighter highlands make a contrasting background. These broad patterns remain useful landmarks as the illuminated area changes. NASA's Moon viewing tips describe both regions and suggest concentrating on the terminator, where low-angle sunlight casts revealing shadows.
The terminator divides lunar day from night. It is different from the outer rim, or limb, that outlines the disk against the sky. A dark mare well inside the lit portion is a surface marking; the broad unlit portion beyond the terminator is a lighting condition. Our surface and phase guide walks through that distinction.
Make a map match before naming anything
Start with the NASA lunar surface study and choose one large dark area as a reference. Compare its neighbors rather than relying on “top left” alone. An observer's sky orientation and an optical instrument's view can differ from a north-up illustration.
NASA publishes International Observe the Moon Night maps for northern and southern views. The 2026 sheets describe September 19 specifically; their lighting suggestions do not automatically apply to every night. Use their geographic labels as a learning aid, and check the date before borrowing an observing target.
Sketch three large shapes on plain paper and mark which edge is in shadow. Leave space for the date, local time and instrument so you can compare the sketch with a later observation.
Follow one feature across two sessions
Choose an evening with a partly illuminated Moon using the monthly sky calendar, then use the local sky map to check its altitude at your available time. A primary-phase date alone does not tell you whether it clears the trees outside your home.
Begin with your unaided eyes and identify the light boundary and maria. If you already have binoculars, support your arms or use a suitable steady mount and compare the same region. Start with the largest visible features and add names as you recognize them.
On a later evening, locate the same broad region again. Note which ridges or crater rims have become easier or harder to distinguish. NASA's viewing guide emphasizes the shadows near the terminator; a changed outline in your sketch may reflect changing light rather than a new surface feature.
Interpret the print and the full Moon differently
A full-looking disk is useful for comparing broad light and dark markings. It can be less helpful for learning relief from long shadows. Return under different lighting to see its relief again.
The Moon print tool also uses terrain to shape its light boundary, but keeps a fixed north-up near-side view. Use it as a calculated keepsake and comparison aid, rather than a finder chart for a particular eyepiece. Choose another outdoor session from the home page's next-event section and keep your two sketches together. Label both sketches with the region, time and changes you noticed.